Kanton Bern: Neue Verordnung für Restaurants
Ab dem 10. Mai 2021 fordert der Kanton Bern für Restaurants die Übermittlung der Kontaktdaten an die kantonale Datenbank.
Where guests are seated at tables and need to be registered, QuickTicket Tables is perfect.
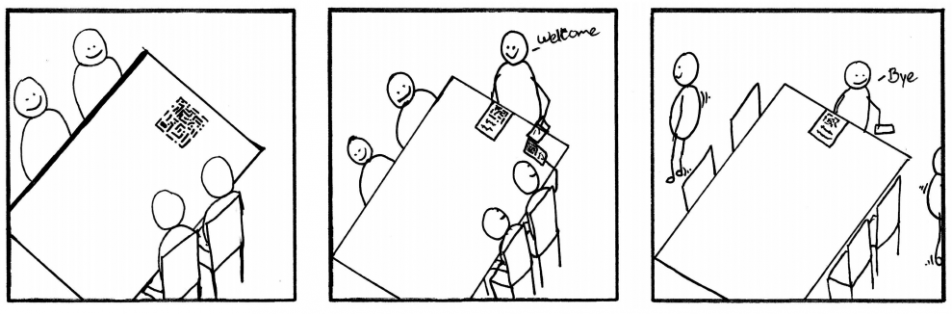
1. Guests create pass (one time!)
2. Check-In
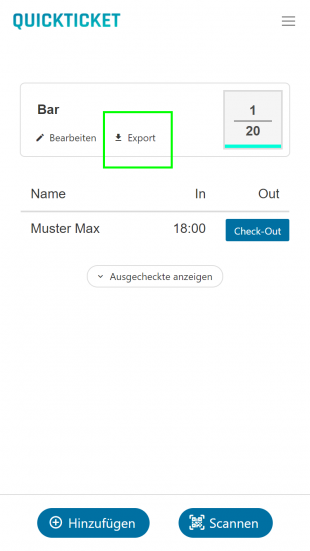
3. Check-Out
With "Self - Check-In", guests register themselves (analogous to step 1), steps 2 and 3 are thus omitted.
Ab dem 10. Mai 2021 fordert der Kanton Bern für Restaurants die Übermittlung der Kontaktdaten an die kantonale Datenbank.
*You don't have a QuickTicket-Account / Subscription yet?
Notes:
For "Self - Check-In" steps 3 and 4 are omitted!
(See step 2.2)
Notes:
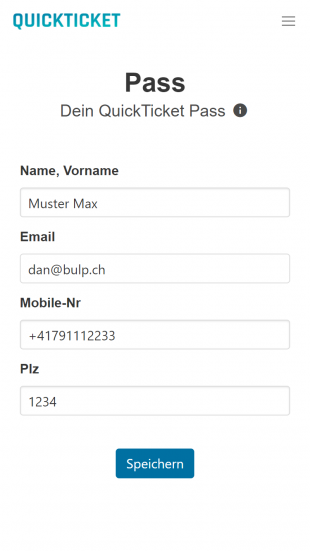
Bild 1/3
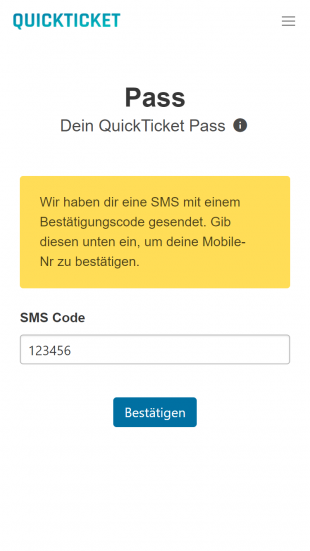
Bild 2/3
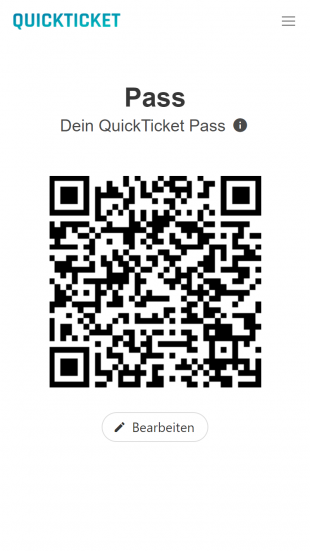
Bild 3/3
Notes:

Notes: